Features
Grout haze after sealing: how to avoid a US kitchen redo
Sealing grout too soon traps moisture that blooms into haze. Cure windows, efflorescence removal and a US kitchen checklist to seal tile without a redo.
What to take away
- Seal cement grout only after full cure, which manufacturers commonly put at 48 to 72 hours after the final wash.
- Haze that shows up after sealing is usually trapped moisture, over-application, or efflorescence sealed beneath the film.
- Test the joint with a water droplet, apply thin coats, and buff the tile before the sealer dries.
- Acid haze removers etch limestone, travertine and marble, so match the remover to the tile.
- Kitchens need a water droplet recheck every 12 to 24 months because grease and food acids wear the film.
What grout haze actually is
Grout haze is the thin film of cement, pigment and polymer that dries on the tile face. It arrives during grouting, when sponge water carries binder across the surface. Sealing over that film locks the residue in place, so the floor looks dusty no matter how hard you scrub.
Haze that appears only after sealing points to a different cause. A damp joint, a heavy coat, or salt bloom cured under the film all read as cloudy grout and dull tile. The product is rarely the problem. Timing is.
Run a dry microfiber cloth across the tile. Powder that lifts onto the cloth is grout residue. A hard film that only softens with a solvent is sealer that cured wrong.
Cement grout is porous, which is why a penetrating sealer is used at all, and the Wikipedia article on grout lists the main sealer families.
Cure windows for cement, epoxy and acrylic grout
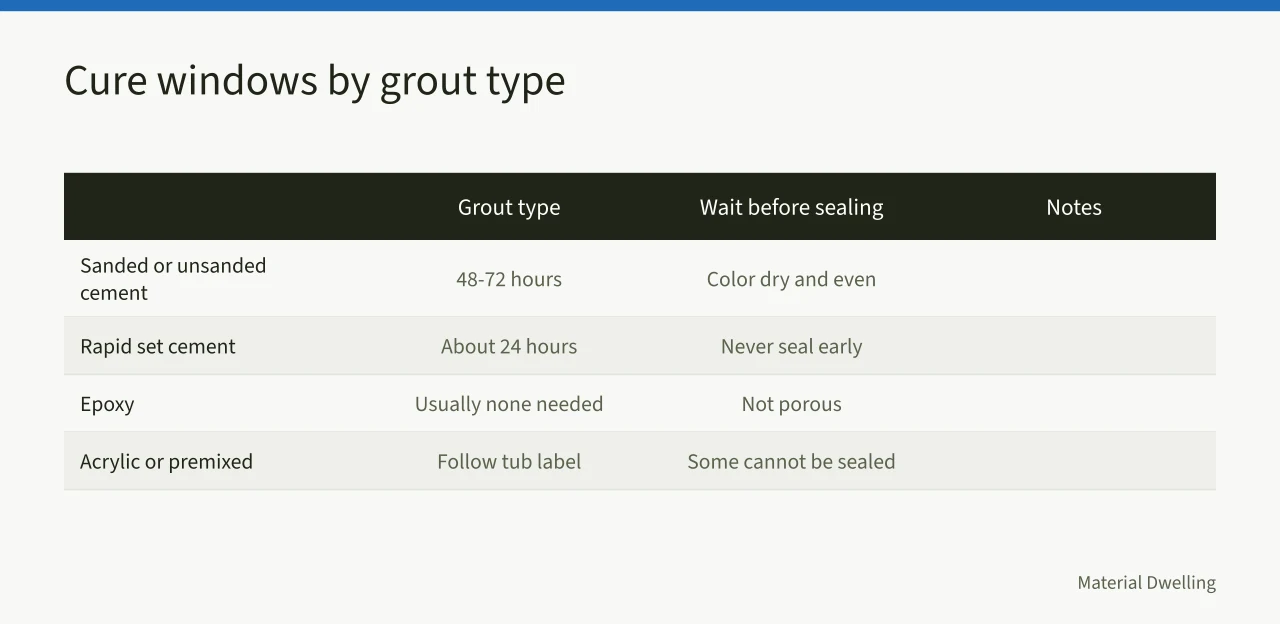
Cure windows for grout
| Grout type | Wait before sealing | Notes |
|---|---|---|
| Sanded or unsanded cement | 48 to 72 hours after the final wash | Color must read dry and even |
| Rapid set cement | About 24 hours | Some bags allow light foot traffic sooner, never sealing |
| Epoxy | Usually none needed | Epoxy is not porous, so a film adds little |
| Acrylic or premixed | Follow the tub label | Some premixed grouts cannot be sealed |
Cool, humid weather stretches every window. A wet sponge, a summer storm, or a slab on grade all slow the dry out. Give the joint an extra day rather than an extra coat.
Sealing tile grout too soon traps moisture
A sealer applied over a damp joint cures on the surface while water still sits in the cement. That water escapes through the film and pushes a white blush to the top. On a kitchen floor the blush grabs grease and looks like permanent haze. No cleaner repairs a film that failed from below.
The droplet test is the simplest check. Drip water on a joint under the toe kick or inside a cabinet. If the bead sits for several minutes, the grout is dry enough. If it disappears, wait another day.
Non toxic grout sealer cure time and the kitchen clock
Water based penetrating sealers commonly need 24 hours without water and about 72 hours before a wet mop. Solvent based products flash off faster but smell stronger and carry more risk in a closed kitchen.
Solvent borne sealers release organic compounds as they cure, and the EPA explains how volatile organic compounds affect indoor air.
For a small kitchen with poor ventilation, look for the EPA Safer Choice label on the bottle before you buy.
Keep the room above 50 F and below 80 F. Cold slows the cure, and warm tile can flash the sealer before it soaks into the joint.
A grout sealing checklist for a US kitchen
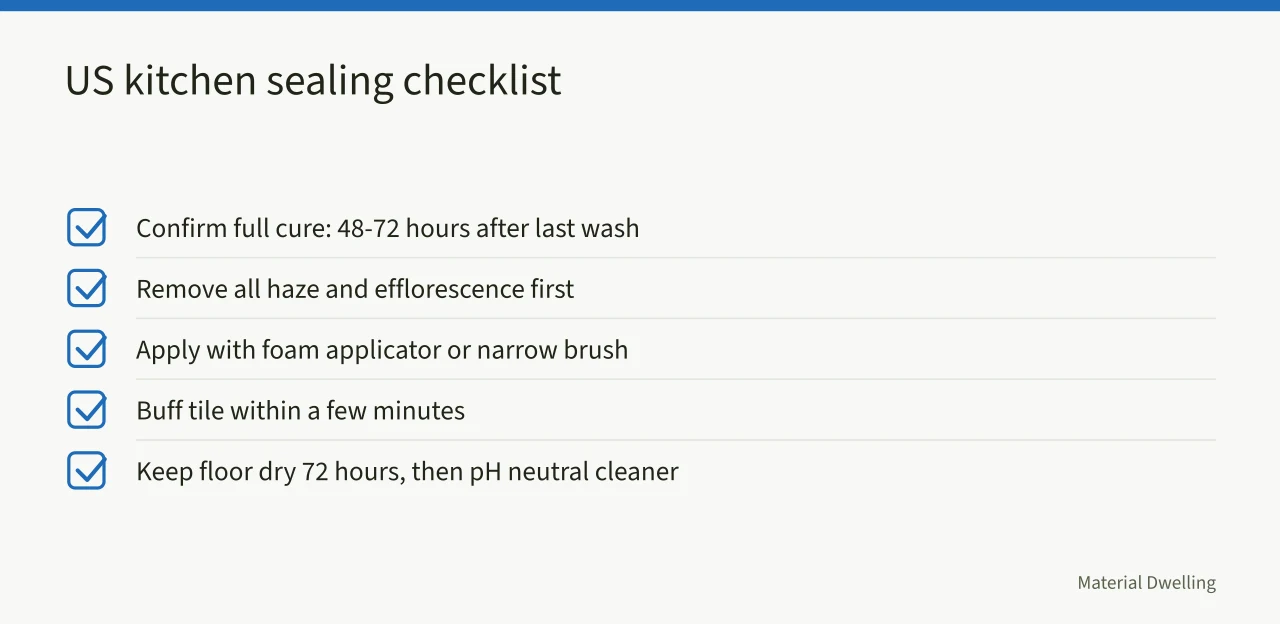
Grout sealing checklist
- Confirm full cure, usually 48 to 72 hours after the last wash.
- Remove all haze and efflorescence before any sealer touches the joint.
- Apply with a foam applicator or a narrow brush, one short run at a time.
- Buff the tile within a few minutes so no film dries on the face.
- Keep the floor dry for 72 hours and switch to a pH neutral cleaner after that.
Efflorescence after sealing
Efflorescence is the white salt bloom that travels with water and dries on the surface. It forms inside the joint and reappears through a fresh sealer film within weeks. Remove it first, then seal.
On cement grout, a sulfamic acid based cleaner lifts the bloom after a ten minute dwell and a rinse. Never put acid on limestone, travertine or marble, because it etches the stone. Test any remover on a spare tile.
Example: a two day wait in a rental kitchen
Day one, grout at mid morning with cool water and a well wrung sponge. Keep the wash water clean, because dirty water pushes pigment onto the tile face. Day two, buff the whole floor with a dry microfiber pad and run the droplet test.
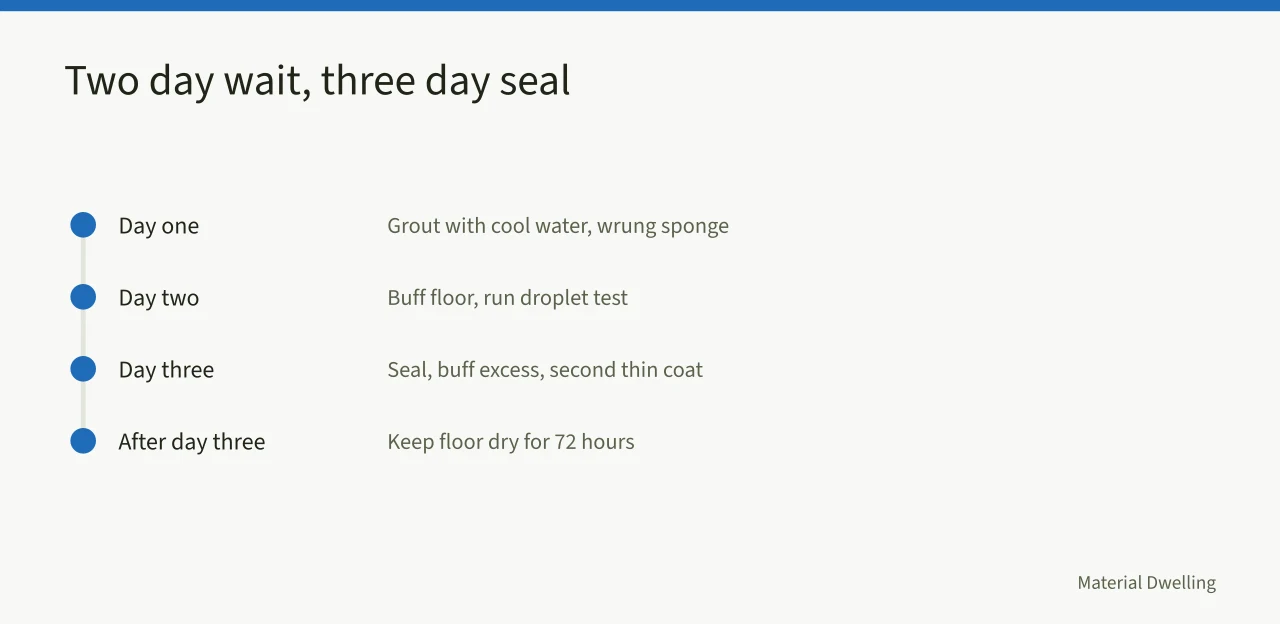
Day three, seal with a foam applicator, let the joint absorb for about ten minutes, then buff the excess. A second thin coat goes on only where the grout still drinks the product. Then the floor stays dry for 72 hours.
Which chemistry survives a kitchen is a separate decision. The guide to a non toxic grout sealer compares acrylic, silane, siloxane and solvent products on cure time, acid resistance, odor and repair.
Removing haze without stripping the sealer
Start with a dry white pad or a microfiber buff. Loose residue often lifts with no chemistry at all. For a stubborn film on ceramic or porcelain, use a haze remover labeled for cement grout, then rinse twice.
Skip steel wool and stiff metal brushes. They scratch porcelain and polished stone. A nylon brush and a pH neutral cleaner handle most kitchen soil without touching the sealer.
Never follow a sealer with an acid cleaner on a weekly schedule. Acid strips the film, and the next coat bonds unevenly over the bare patches.